
How to Prepare Your Product for a Professional Photoshoot

1. Review Your Current Website Inventory
Look through the product images on your website and note which photos appear outdated, inconsistent, or off-brand. This helps us prioritize the project needs and ensures visual harmony across your lineup.
2. Decide Which Bottles Need New Photography
Create a shortlist of products requiring updated visuals—new vintages, label updates, new releases, or anything that no longer matches your current branding.
3. Identify Any Photoshop Needs
If you anticipate needing edits (such as removing or changing a vintage year), please let us know in advance so we can plan for the proper level of retouching.
4. Select Clean, Undamaged Bottles
Choose bottles free of scuffs, dents, nicks, or damage. Even small imperfections become visible under studio lighting.
5. Inspect Labels Thoroughly
Please choose bottles with:
perfectly aligned labels
no bubbles or wrinkles
no scratches, tears, or smudges
Since labels are the focal point of most shots, selecting pristine ones is essential.
6. Avoid Bottles With Visible Seams
Whenever possible, provide bottles without seams running down the front. Seamless bottles create cleaner hero shots and reduce retouching time.
7. Provide Extra Bottles When Possible
For foil tops, wax dips, or delicate packaging, include a few duplicates. This gives us flexibility if one gets damaged or doesn’t photograph well.
8. Decide on Styling: Clean Studio or Styled Scene
If you want styled images, please gather any supporting elements such as:
boxes or packaging
corks
vineyard items
branded props
If you prefer a minimal look, simply specify “white or transparent background only.”
9. Transport Bottles Carefully
Use protective sleeves or carriers so bottles arrive free from scratches, residue, or label damage. Clean, flawless bottles produce the best final images.
Have questions? We can teach you how to do this in house or completely take care of it for you. Send us a message below.

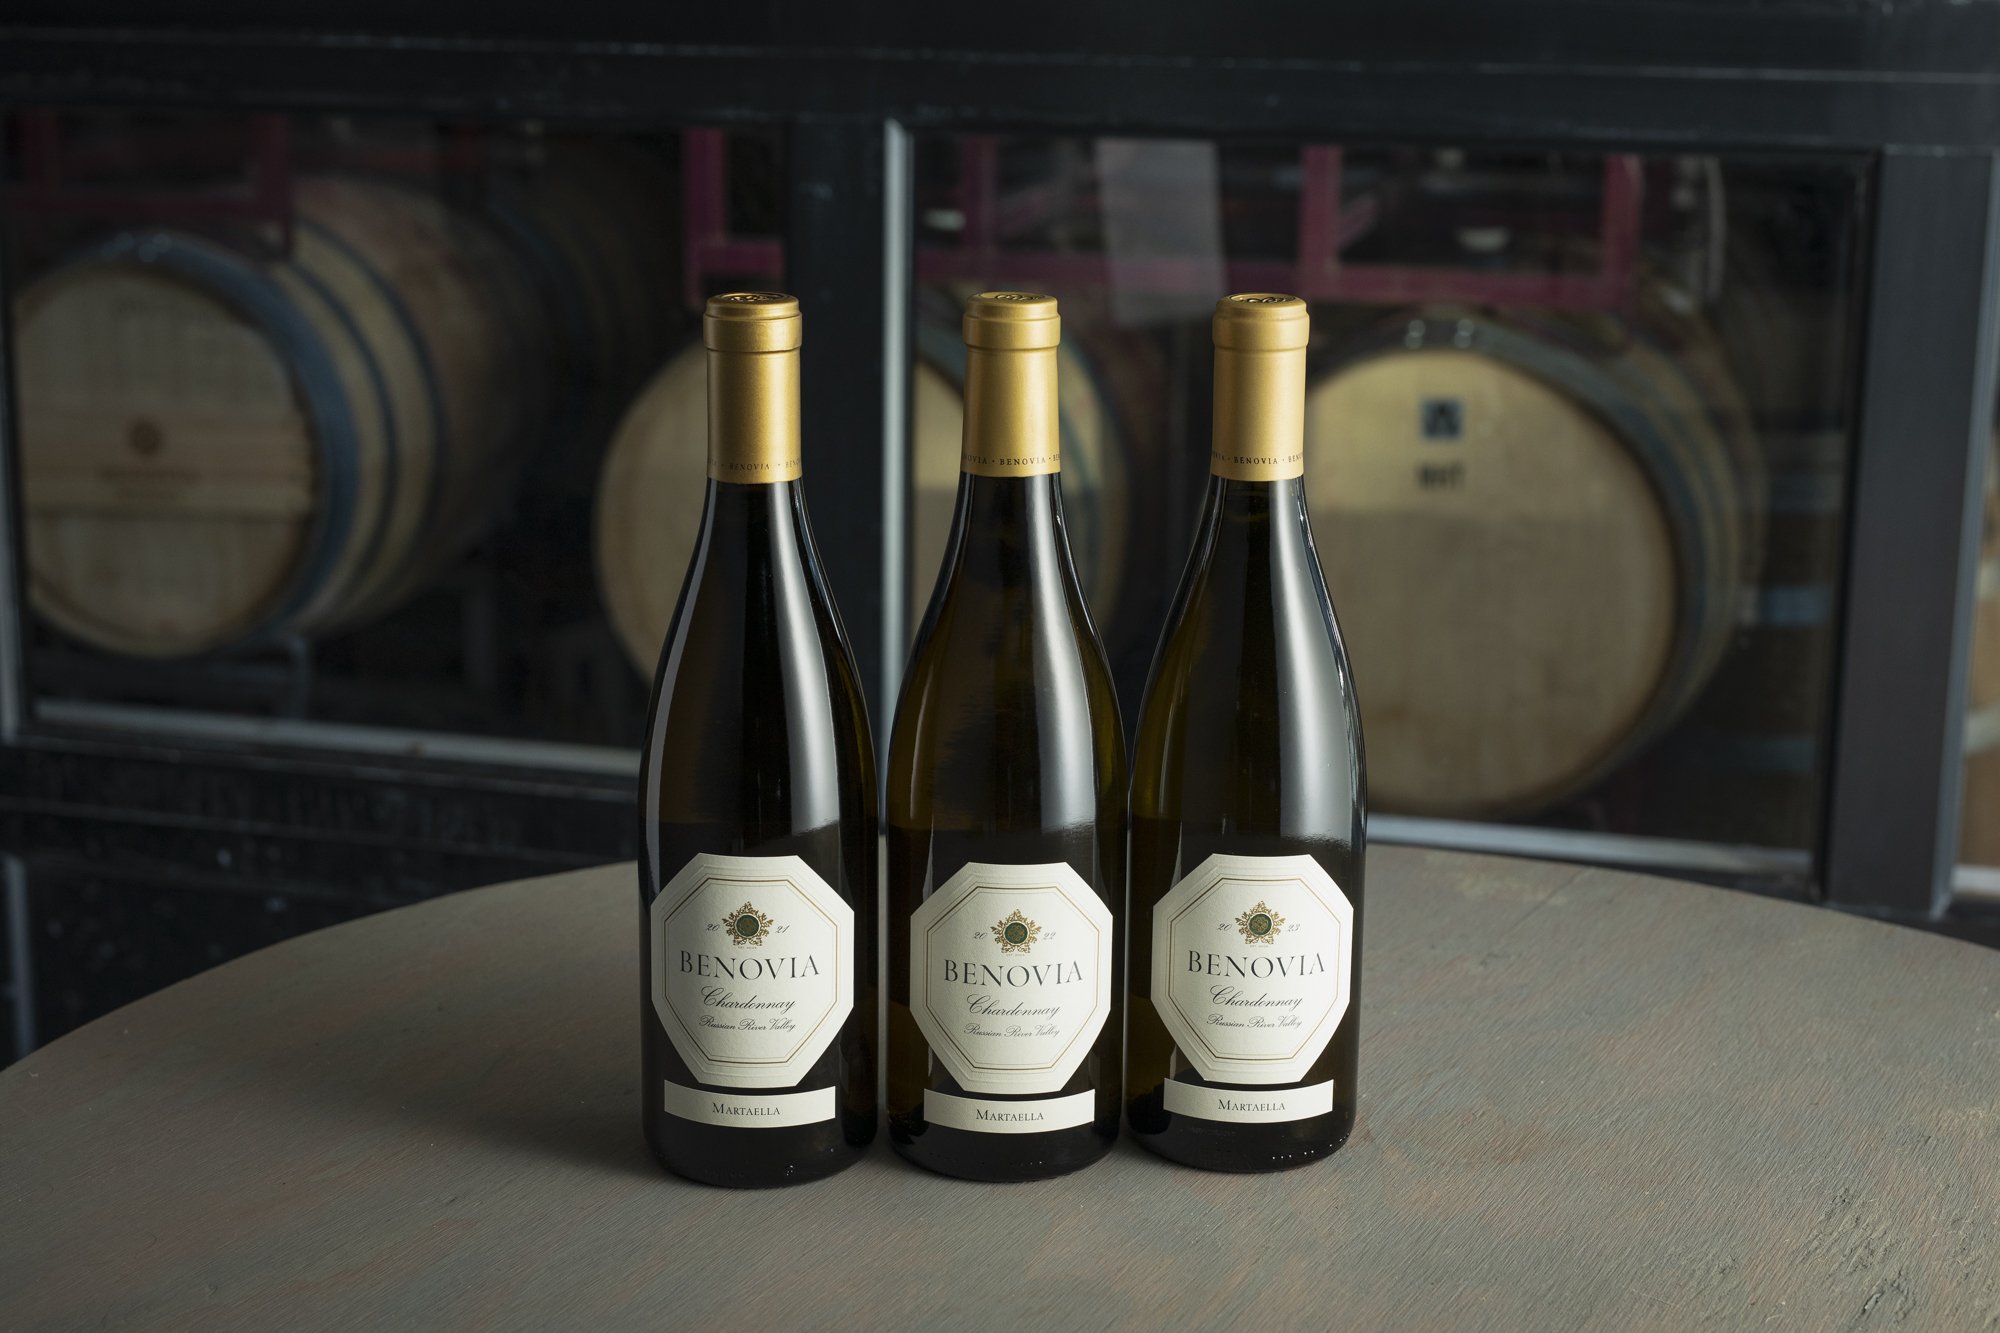
We provide high-resolution product photography with clean white or transparent backgrounds, designed for consistent use across websites, e-commerce platforms, updated labels or vintages, and replacement of mismatched product imagery.
This service is ideal for brands looking to maintain visual consistency across digital and print touchpoints, ensuring each product is represented accurately and professionally.
Product photography is available for both standard and engraved labels.
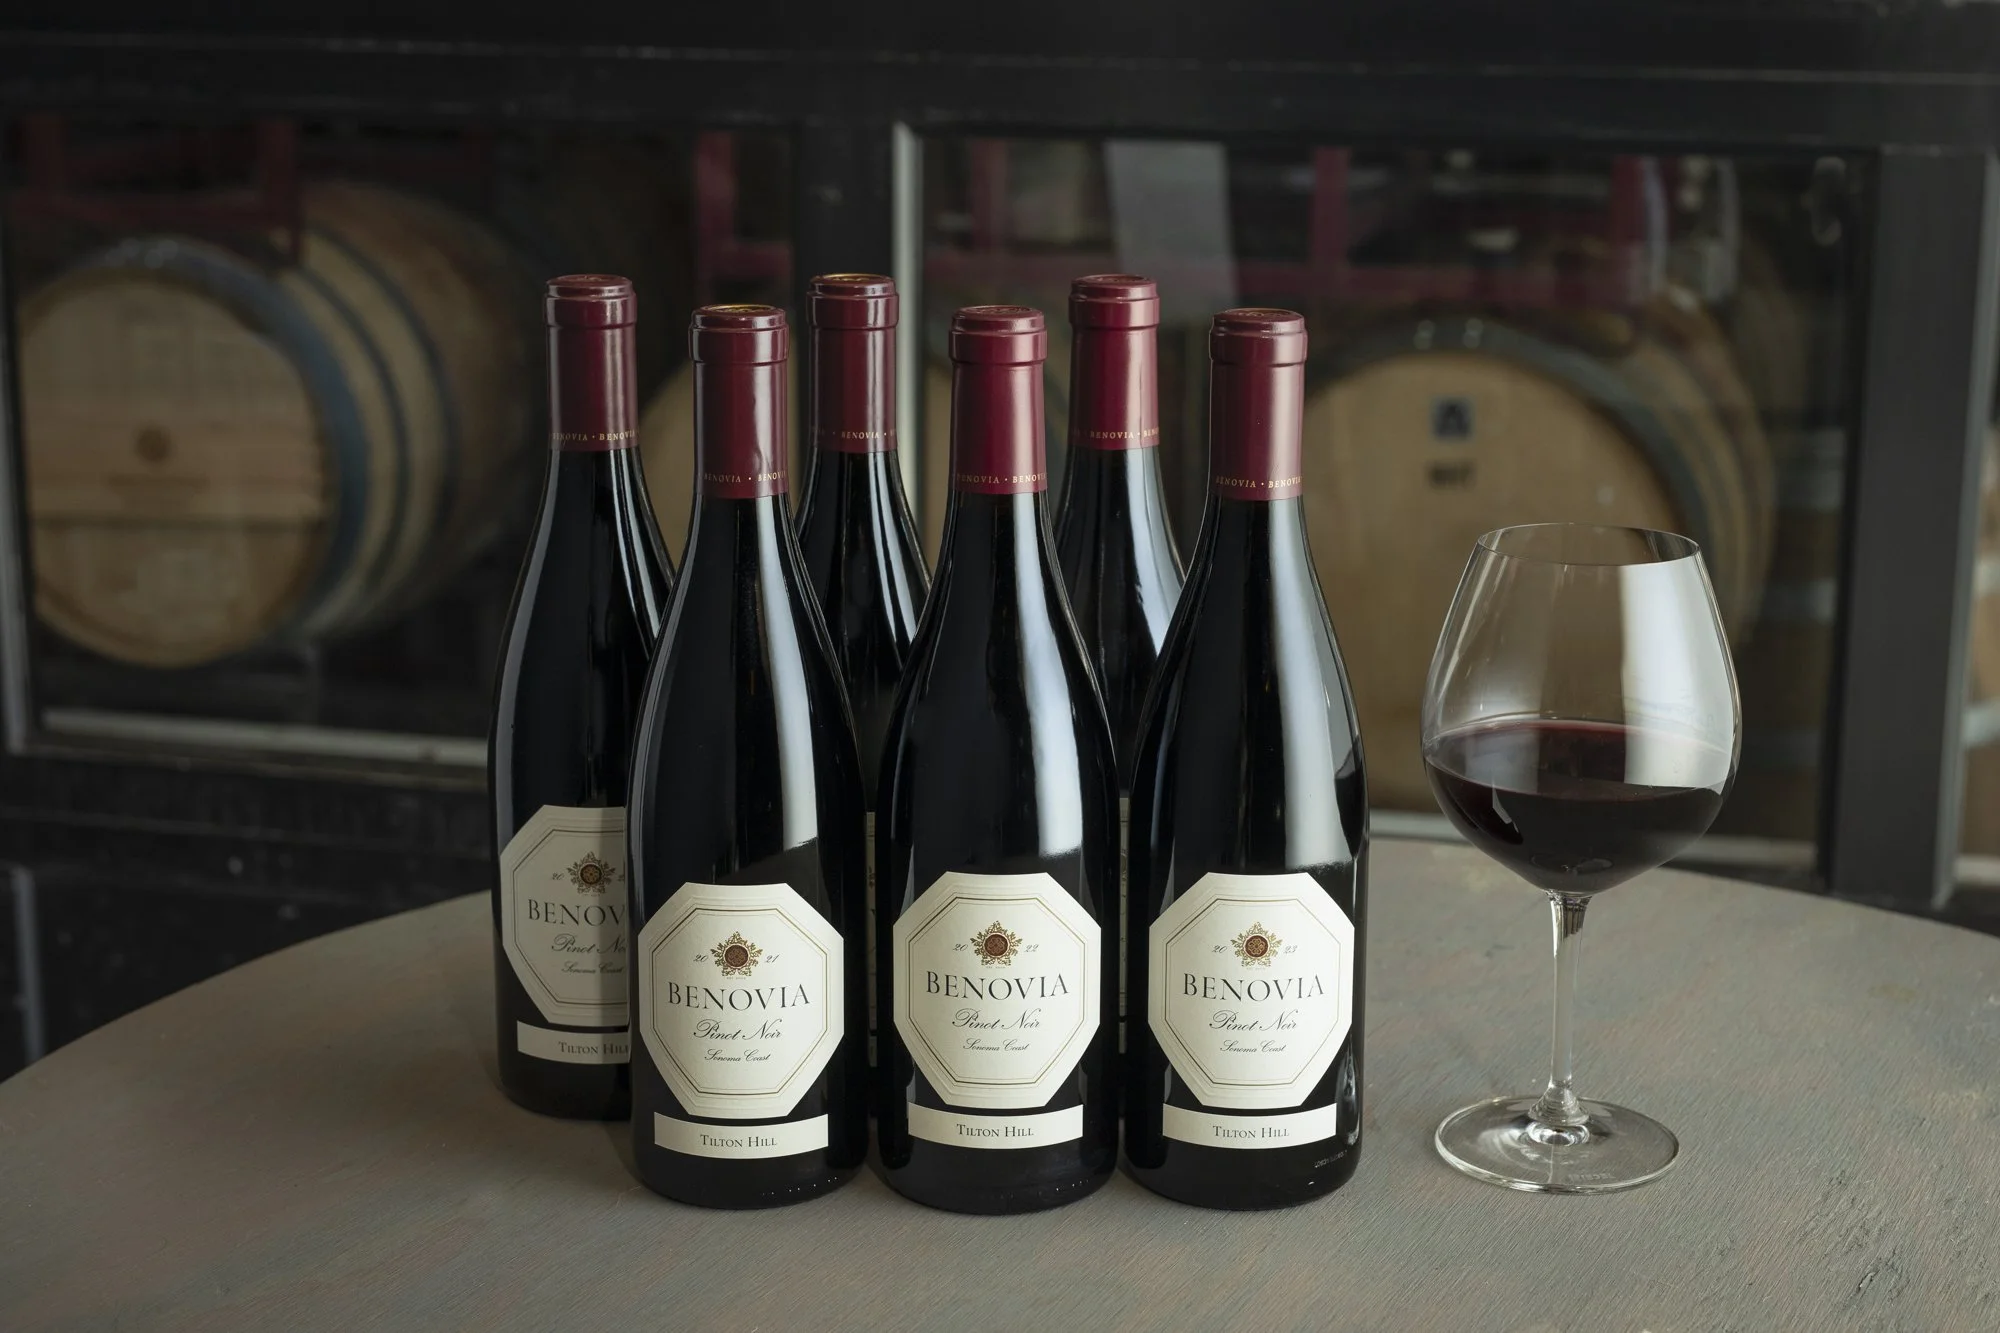
A minimum of three products is required per session, with no maximum quantity. Pickup and drop-off logistics can be coordinated as part of the production process to ensure a smooth and efficient experience.
If products are still in preparation at the time of booking, an estimated quantity may be reserved in advance. Final billing can be adjusted based on the confirmed number of products once photography is complete.
Select Qty, add to Cart, fill out form and submit payment at checkout in the upper right corner.
Follow this FREE GUIDE - Prepare You Bottles for Professional Photography