
Level-Up Your Bottle Photos: A Window, a Phone, and a Little Intention
By Dan Quiñones


Photographing bottles is deceptively tricky—reflections, glare, and awkward shadows can turn a beautiful product into a frustrating image fast. But with a few simple techniques, you can capture clean, professional-looking bottle photos that elevate your brand and showcase your product the way it deserves. Using just a phone!
Brief Description
In this guide, you’ll learn straightforward, beginner-friendly steps to improve your bottle photography—using the light you have, tools you already own, and techniques that make your product look polished, intentional, and ready for your website, wholesale catalog, or social media.
Note: A tripod helps. If you don’t have one yet, check out our recommended gear list to see what we use.
1. Turn on your grid
Turn on the grid feature on your camera or phone.
This will help you improve your composition and keep things straight and intentional.
2. Choose the right orientation
For social: Hold the phone vertically.
For web + email headers: Grab a few horizontal options too to give yourself compositional variety.
3. Use an environment that compliments the bottle
If you’re in a tasting room, you’re already rich with great backgrounds and textures.
Choose a surface and backdrop that feel on-brand and don’t distract from the label.
4. Find your light
Look for a window (soft light), lamp (direct light), edge of an overhang (soft light), even direct sunlight can work for certain aesthetics and place the bottle(s) as close to the window as possible.
This gives you soft, directional light that’s perfect for glass and labels.
5. Position and rotate the bottle
Try the bottle in the center, the left third, and the right third of the frame using the grid.
Slowly turn the bottle toward and away from the light source until you like the highlight and shadow pattern on the glass and label.
I usually start with the bottle turned about 90° (or slightly more) away from the window, then adjust until the reflections look clean and flattering.
*Raise and lower your camera up and down to change the angle. I prefer to keep a low camera angle so the label is near the center of the frame, but far enough away to capture the entire bottle and a little bit of the surrounding environment.
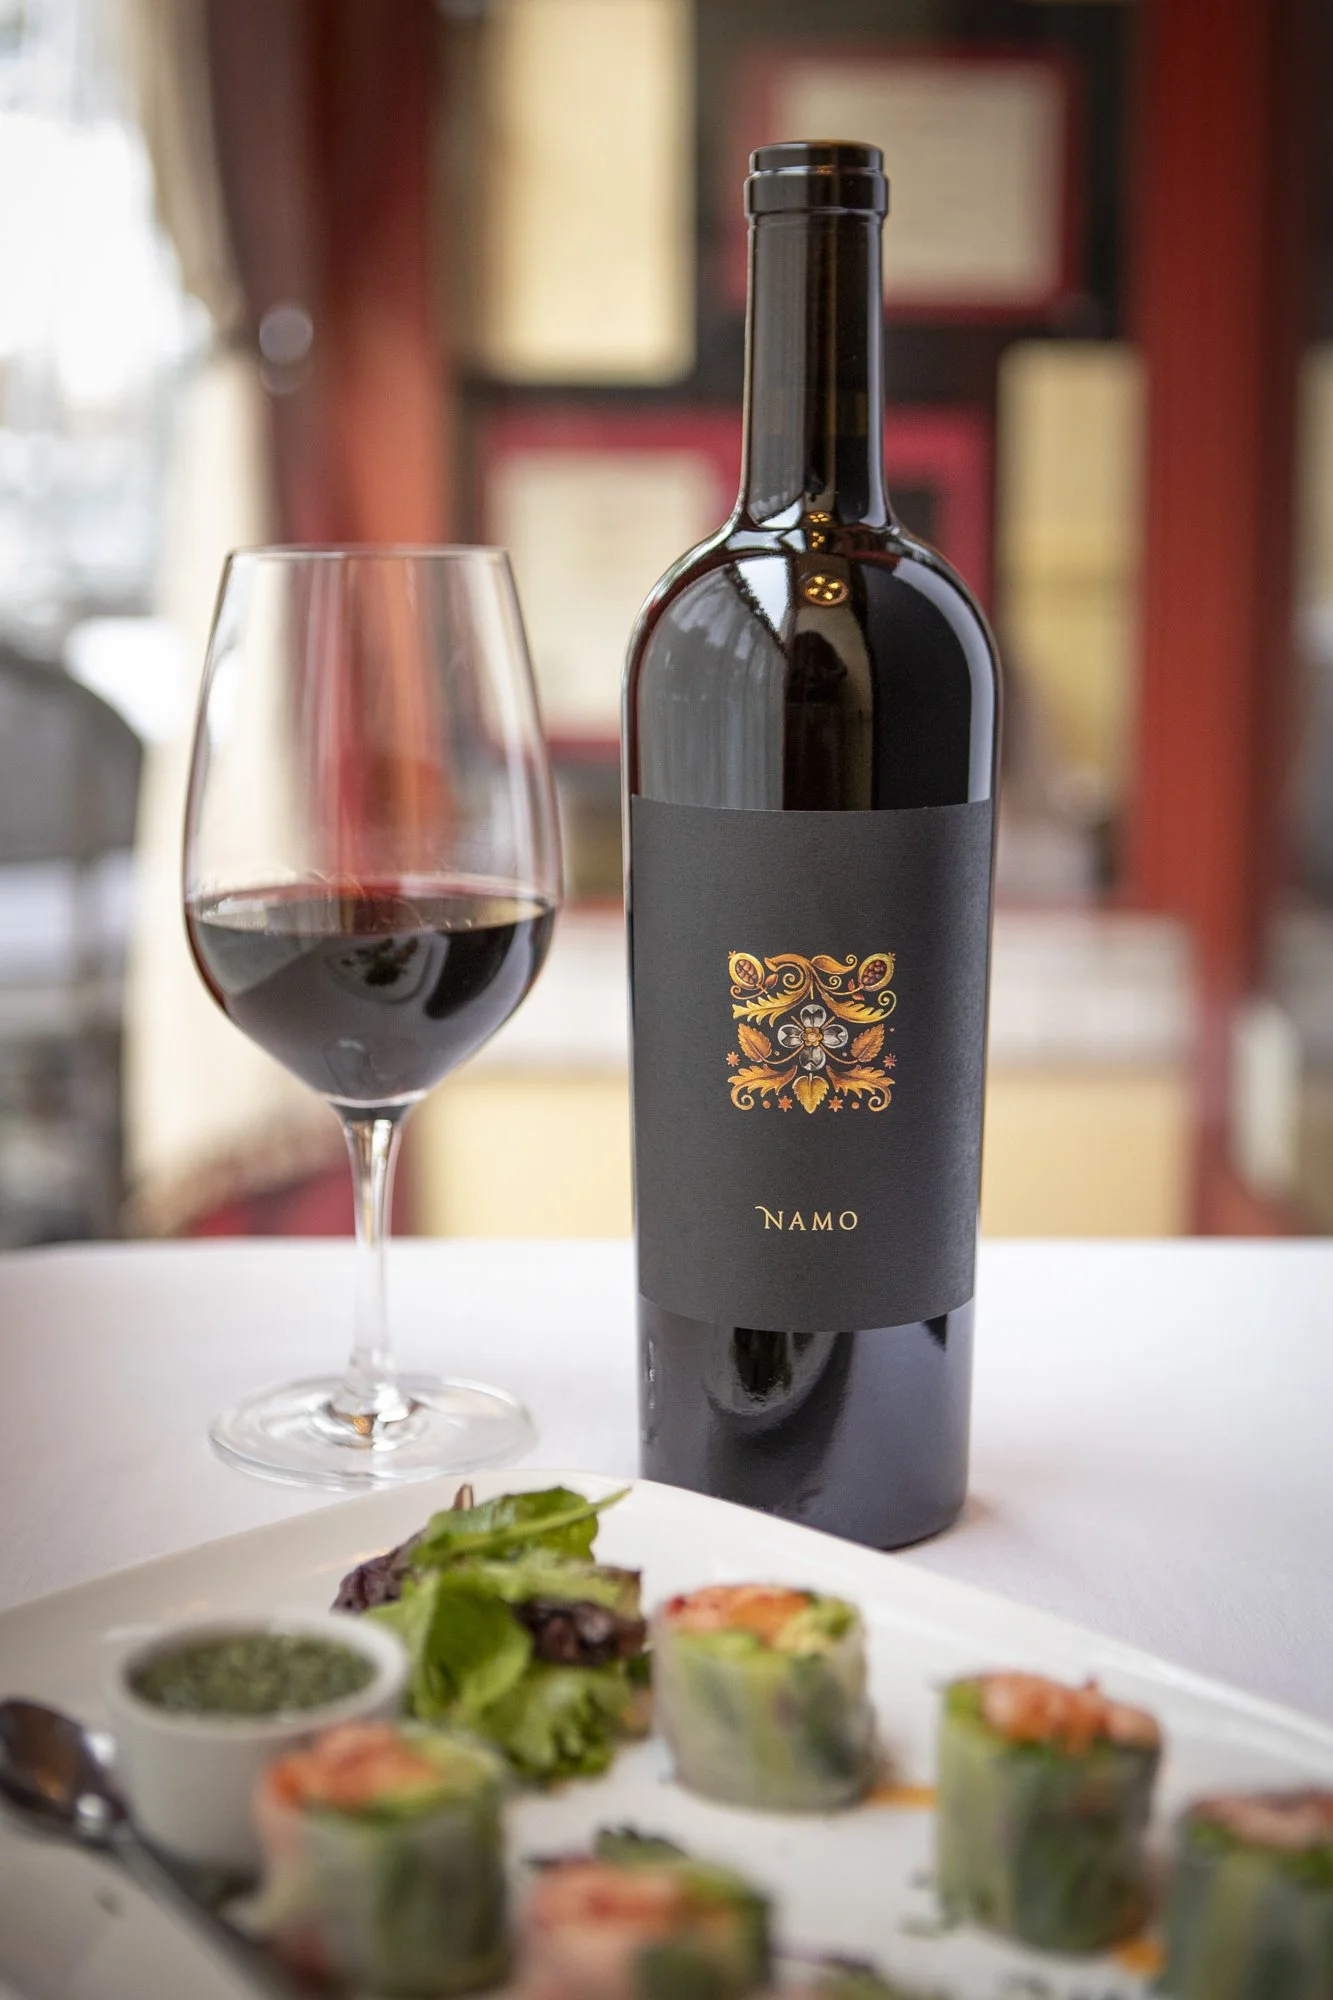
6. Start shooting and add minimal props
Begin shooting once you like the light and position.
Add in minimal props like flowers, corks, a wine key, food, books, or a glass.
The goal is to provide variety without cluttering the frame or spending too much time on each bottle or bottle pack.
7. Retouch reflections and blemishes
Edit distracting reflections (you taking the picture), dust, or small blemishes in Photoshop or any spot-removal tool.
Take your time and be patient here—the more care you put in, the more polished the final image will look.
Bonus mindset: channel your inner oil painter in this step. Slow, intentional refinements beat quick, sloppy edits every time.
8. Bonus: Use foam core boards for control
Get a couple of bi-folding foam core boards to use as light tools: We use the ones from V Flat World linked here
Black foam core = light subtractor (adds contrast, deepens shadows).
White foam core = reflector (fills shadows, adds soft highlights).
Place these just out of frame next to the bottle(s). Small adjustments can dramatically improve your lighting and give you those long, soft highlights exactly where you want them.
9. Don’t forget the most important part
Have fun with it.
Style the scene in a way that feels appropriate for your brand and your audience.
The more intentional you are, the more your images will feel like you.
Have Questions? Want to do it together? Need us to take care of it for you? Send us a message below.